 Full disclosure: this is my first summer with a 40 hour-a-week job. Last summer, I was planning my wedding and European honeymoon adventure, and then I was enrolled and about to start a graduate program in the fall. So, over the summer months I spent some time waiting for school to start (during which I watched every single episode of Gilmore Girls on Netflix. Where have you been all my life?!), before finally deciding that, nope, I’m ready to move on from school and start working a real job (not that school isn’t a real job. Hi Jonathan).
Living in the Bay Area and NOT working in tech is kind of a rare thing. This is the hub for tech majors and STEM subjects. We’ve got Google, Facebook, Yahoo, Ebay, SAP, LinkedIn, Pinterest, etc. And Stanford, school-of-the-startups, right down the street. Jon and I like to play spot-the-Tesla when we’re driving around the neighborhood. I ride the train to get the work, and almost everyone connects to their company’s wireless VPN and begins their morning conference calls.
Getting used to this pace of life has been a little difficult, I must confess. On one hand, I like actually having a weekend. No homework to speak of. But on the other, I do miss 3 p.m. naptime and writing essays (wow, I never thought I would say that!). To be perfectly honest, sometimes it’s hard for me to finish books I’m reading for fun in a timely manner, because there’s no deadline!
One thing I do quite appreciate about the summer, even though now I don’t get many of the days off, is that other people tend to come visit us whom we don’t usually see during the year. My sister-in-law and bestie Jen came over this weekend, and we attempted to work on a recipe together with the abundance of figs that are available this season.
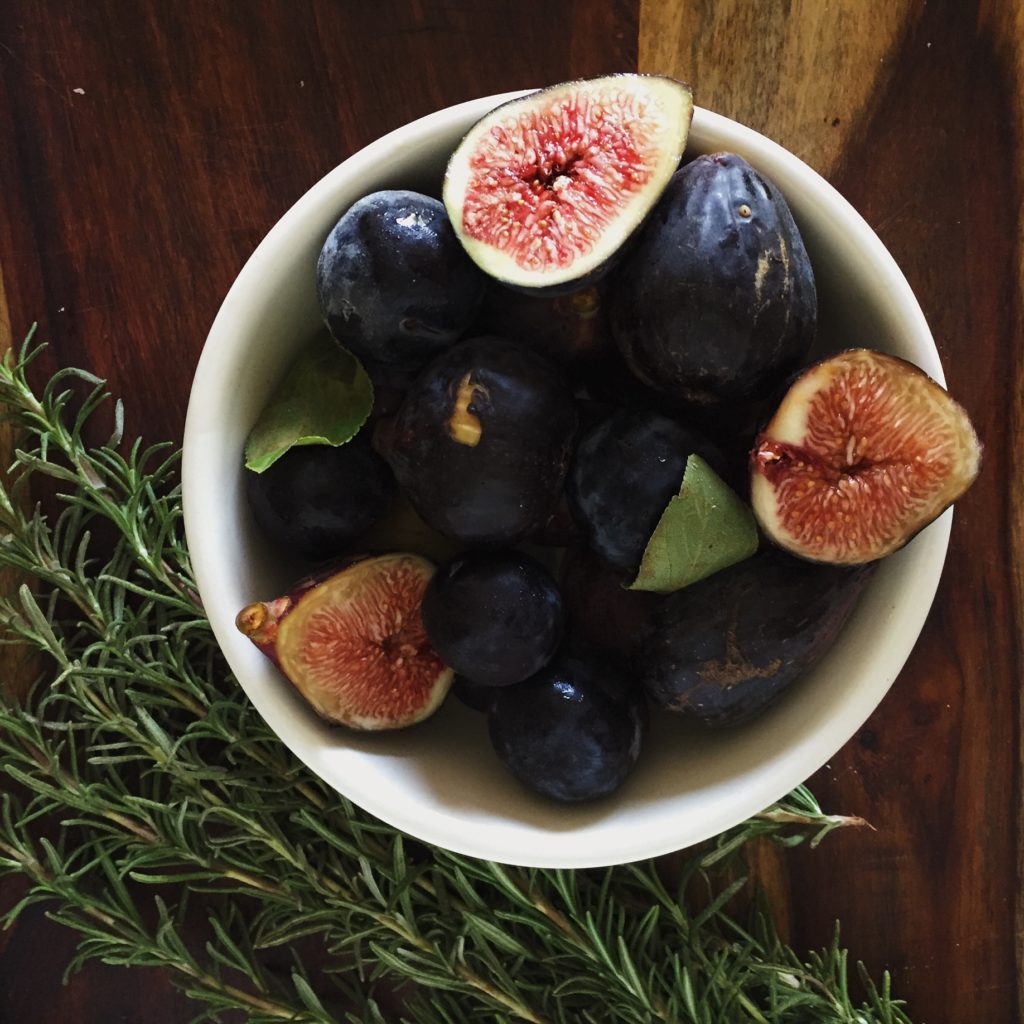
Last year, I was officially introduced to fig season at the end of the summer. And now, and forever, I can assure you, I will go a little fig-crazy every pre-fall season. They are so amazingly sweet and delicious, and go SO well in baked goods. However, in our first attempt, Jen and I experimented with a fig ice cream concoction, which utterly failed (I will only say, I do NOT advise using an entire can of sweetened condensed milk in place of heavy whipping cream when you make ice cream).
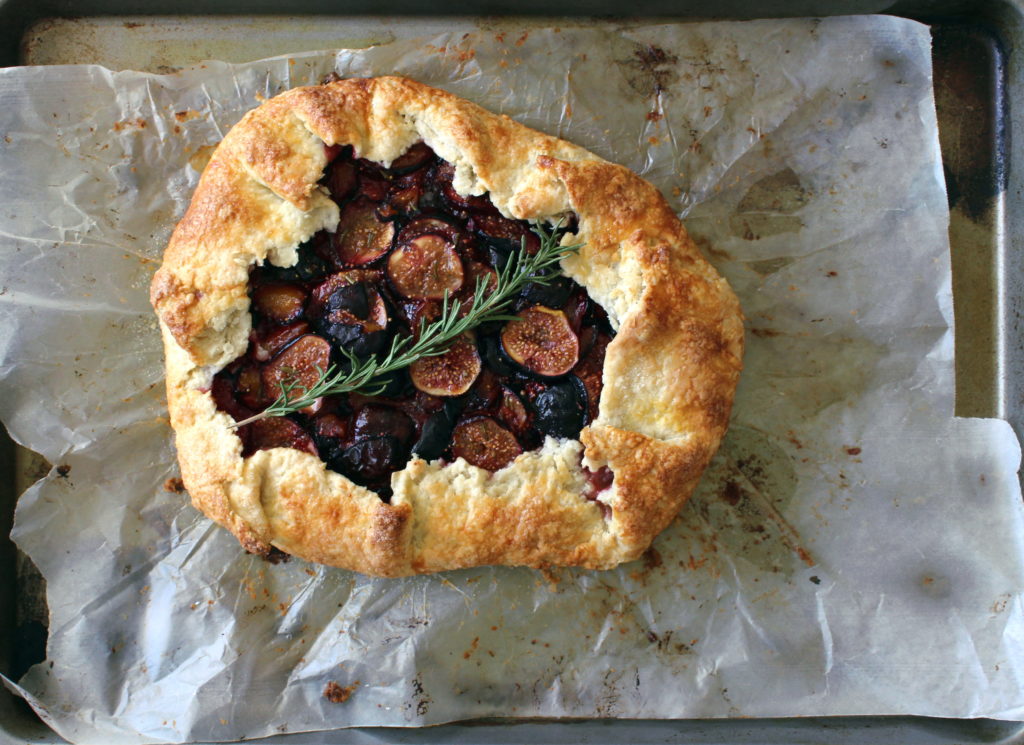
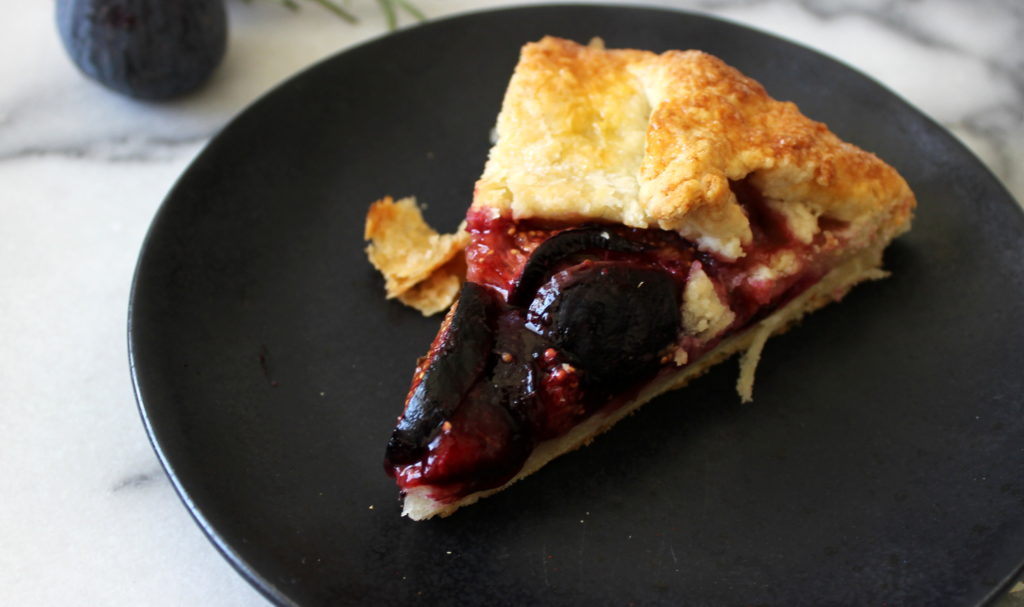
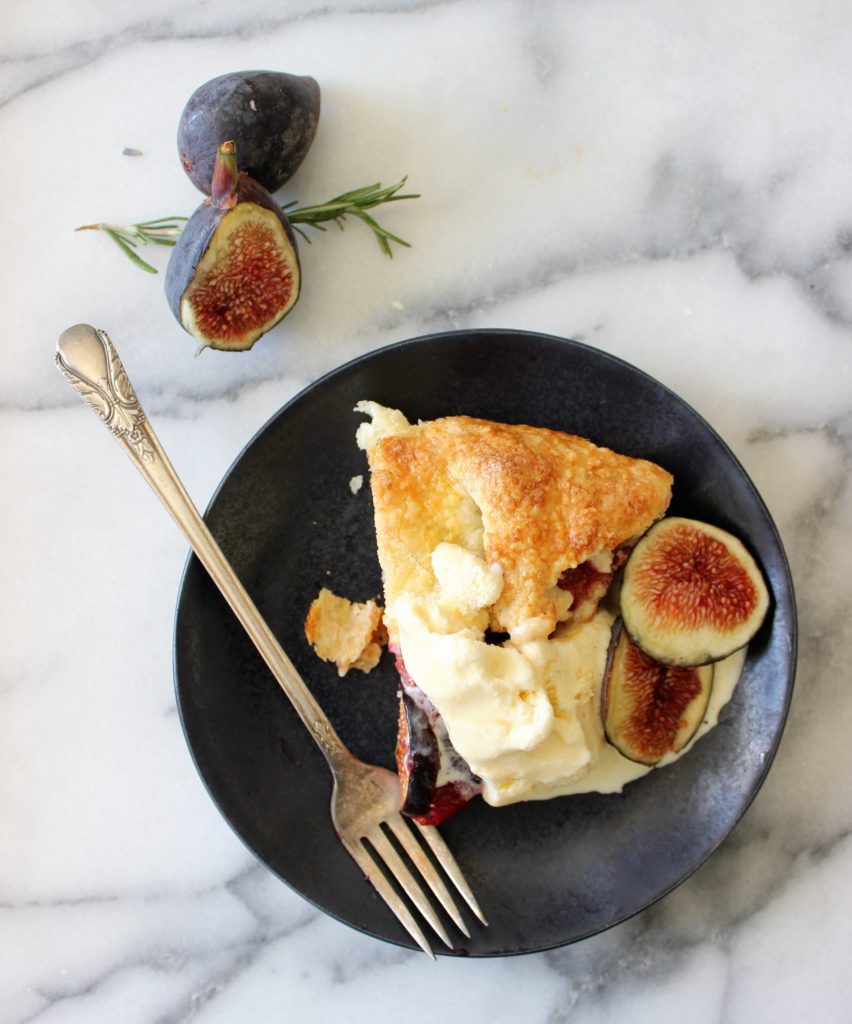
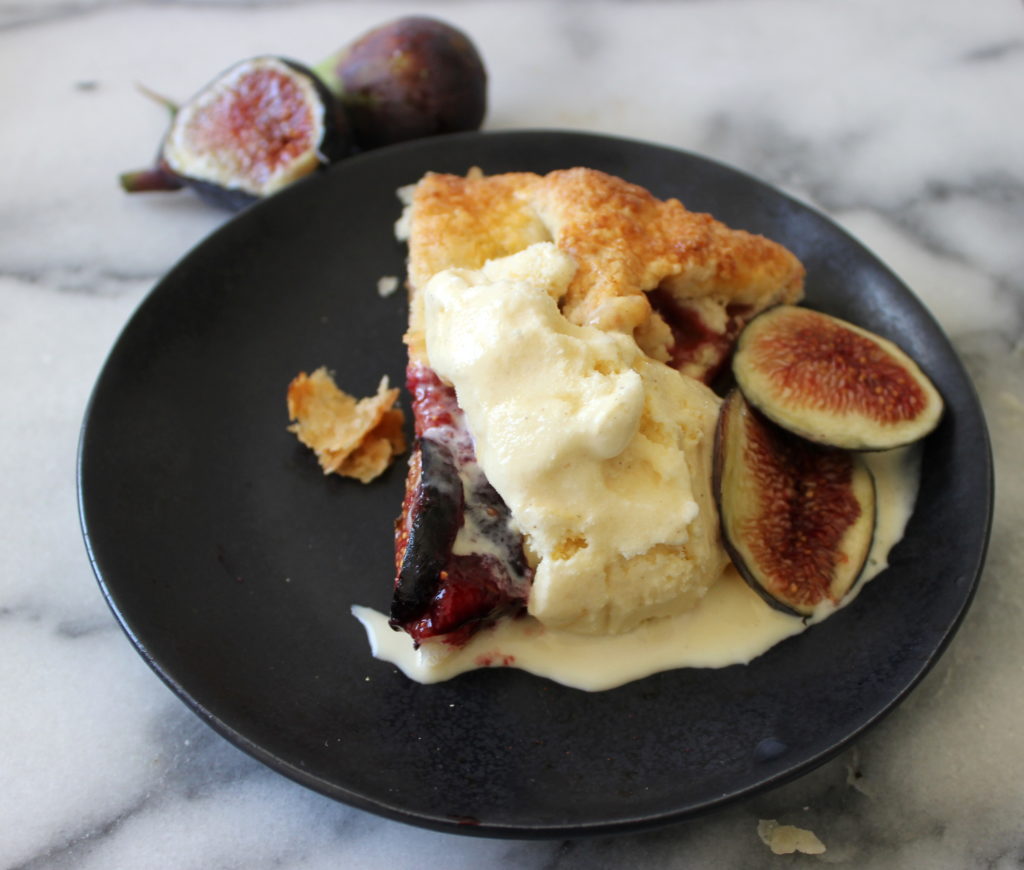
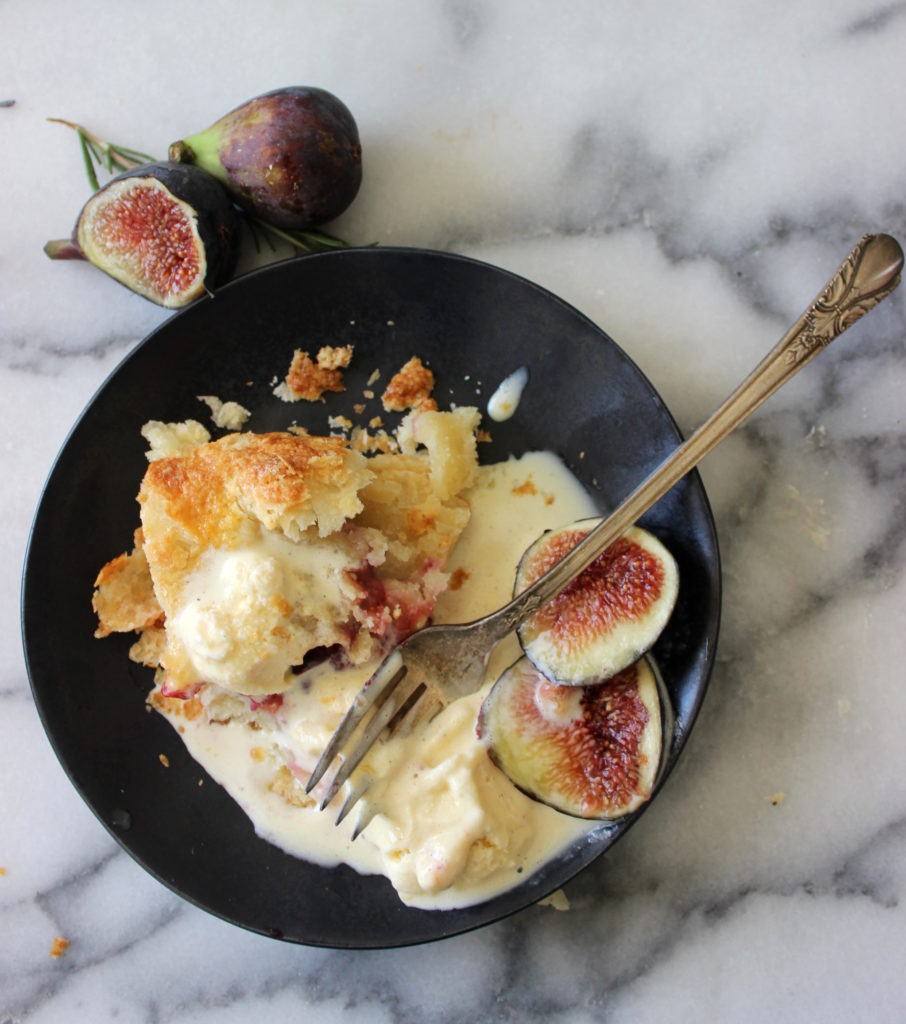
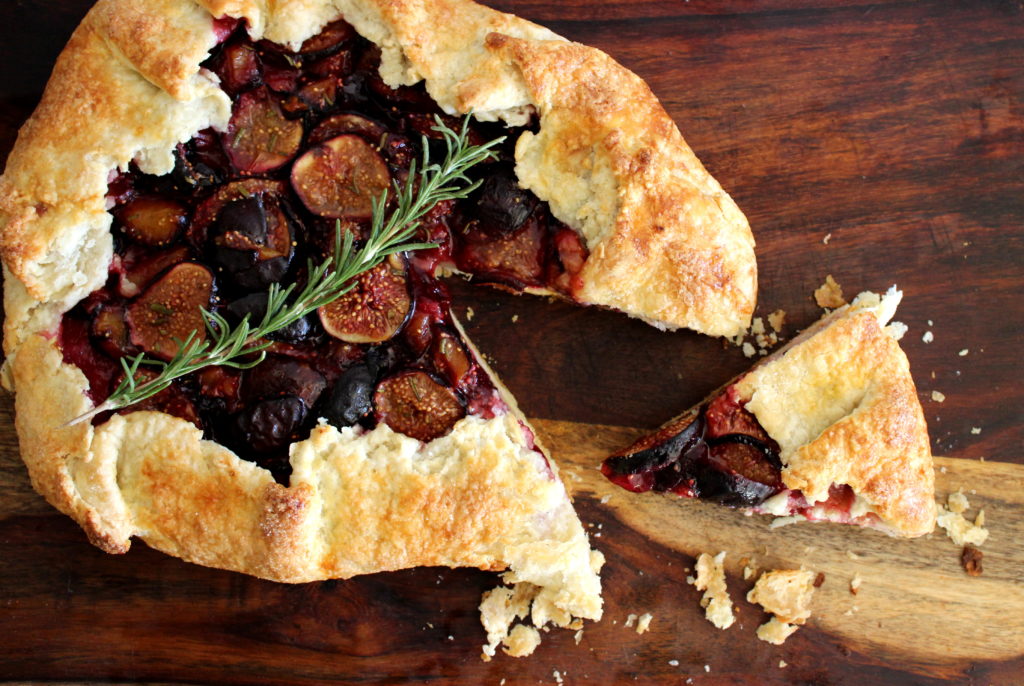
This beautiful, fall-welcoming galette recipe was one I thought up spur-of-the-moment, and was confident I wouldn’t ruin. I was inspired by what we found at the farmer’s market that morning; a practice I highly encourage. Go to farmer’s markets without grocery lists, and sort of just see what happens. In this case, I made a delicious galette with some sour Damson plums. The farmer selling them said would “bake beautifully” and boy, do they ever. That being said, I do think that this recipe would taste just fine with regular sugar plums (and in that case, I would decrease the amount of sugar by one tablespoon) but I love the delicious tartness of this dessert, and it’s even more perfect with some vanilla ice cream.
I started out with Martha Stewart’s classic pate brisee recipe for the crust, but tweaked it to include buttermilk, which I’ve had leftover in my fridge for a week or more now, and am desperately trying not to waste. My secret to a flaky crust, is creating the layers myself. I made enough crust for a double crust pie, but folded one layer over the other. This makes the crust a bit more dense, so be sure to really flatten it out. It will bake into a nice, thicker, flaky crust, if you are sure never to over-mix the dough and refrigerate in-between steps. Happy end-of-summer and early fall to all!
Ingredients
Crust:
- 2 ½ cups flour
- 1 tsp. salt
- 1 tsp. sugar
- ½ tsp. baking powder
- 1 ½ sticks of butter (cubed)
- 4 tbsp. cold buttermilk
- 3 tbsp. ice water
Filling:
- ¾ cups chopped tart plums (I used the Damson variety)
- 1 tsp. fresh chopped rosemary
- 1 cup sliced figs (about 6-8 medium figs)
- ½ tsp vanilla
- ½ tsp lemon juice
- 3 tbsp sugar
- ¾ tsp cornstarch
Egg wash:
- 1 egg + extra sugar
Instructions
For the crust:
- In a bowl, combine the flour, salt, sugar, and baking powder. Cut in the butter with a pastry blender or a fork until lumps are a little larger than pea-sized, about the diameter of a dime.
- Add the buttermilk tablespoons into the mix and knead with your hands. Continue to knead and add ice water, by the tablespoon, until the mixture comes together and is a little bit shaggy, but most of the powdery bits have been incorporated into the dough. Be careful not to overmix. The dough will not look very dough-like, and will still have lumps of butter throughout.
- Turn the bowl and contents onto a marble pastry slab, or a clean counter and continue to knead until the dough just begins to stick together and resemble play dough. You should still see lumps of butter throughout.
- Divide dough into 2 lumps and press into flat oval disks. Wrap tightly with plastic wrap and refrigerate for at least an hour. Dough can keep in the fridge for about 2 days, and in the freezer for about a month or so. If you freeze the dough, let it come to room temperature, then refrigerate for an hour prior to using.
For the filling:
- If using Damson plums, or if you are struggling to de-pit the plums, freeze them for 4-8 hours. When frozen, if you try to pit them, the pit should easily pop out.
- Combine plums, rosemary, figs, vanilla, lemon juice, sugar, and cornstarch in a bowl about 10 minutes before the crust is ready to use.
- Take the dough out of the refrigerator, and unwrap one of the disks onto some wax paper. Using a rolling pin, flatten the dough to about 16-18 inches in diameter. For me, it was easier to add another layer of wax paper on top of the dough as I rolled it out, so that the rolling pin didn’t stick. Take the additional wax paper off when the dough is flat, and unwrap the second dough disk and place it in the center of your rolled-out dough. Wrap the flat dough around the new disk, cover with wax paper, and continue to roll out the dough until it is again, 16-18 inches in diameter.
- Spoon the filling into the center of the flattened dough and fold the crust over the edges of the mixture, taking care to make sure there are no dough gaps (otherwise, the juice will leak out and make the dough soggy during baking). The dough does not need to be perfectly even, though, and the more rough-edged, the more rustic the galette will look.
- Refrigerate galette for 30 minutes. While waiting, preheat the oven to 370 degrees Fahrenheit. In a small bowl, beat the egg. After the 30 minutes, take the galette from the fridge, place onto a baking sheet with edges. Brush the beaten egg over the dough, and sprinkle sugar on top, if you’d like.
- Bake for 35 minutes. At 35 minutes, check to see if the crust has browned to a golden-yellow color (see photos for reference). Mine was ready in about 40 minutes, so check the galette regularly after the 35 minute mark.
- Allow galette to cool completely before cutting. Delicious on it’s own, but also with vanilla ice cream. Enjoy!
