 Halloween is upon us! I admit that I’m guilty of waiting until the last minute for my costume plans, then driving around to all the stores in the neighborhood to pick over the slightly ripped, half stolen, prepackaged costumes – and then deciding to DIY it. We had aour work party this week where I dressed as “Creep”opatra, and pretty much left at least half of the “dressing up” part of it to the powers of makeup: to extra-heavy winged eyeliner, glitter, and of course, fake blood. The rest of my costume consisted of craft store finds like gold rope & hot glued ribbon. Nailed it. My fellow publishing friends & I dressed up as doomed historical figures, and then lip-synched & faux-fought to Bad Blood in the talent show. We’re pretty awesome.
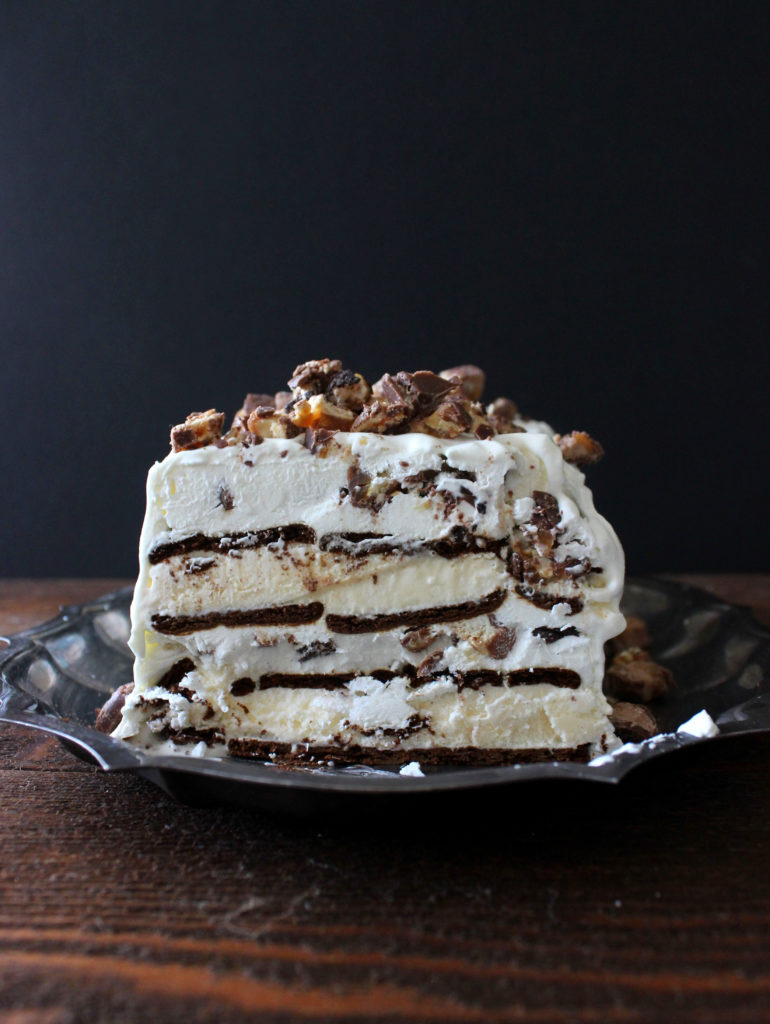
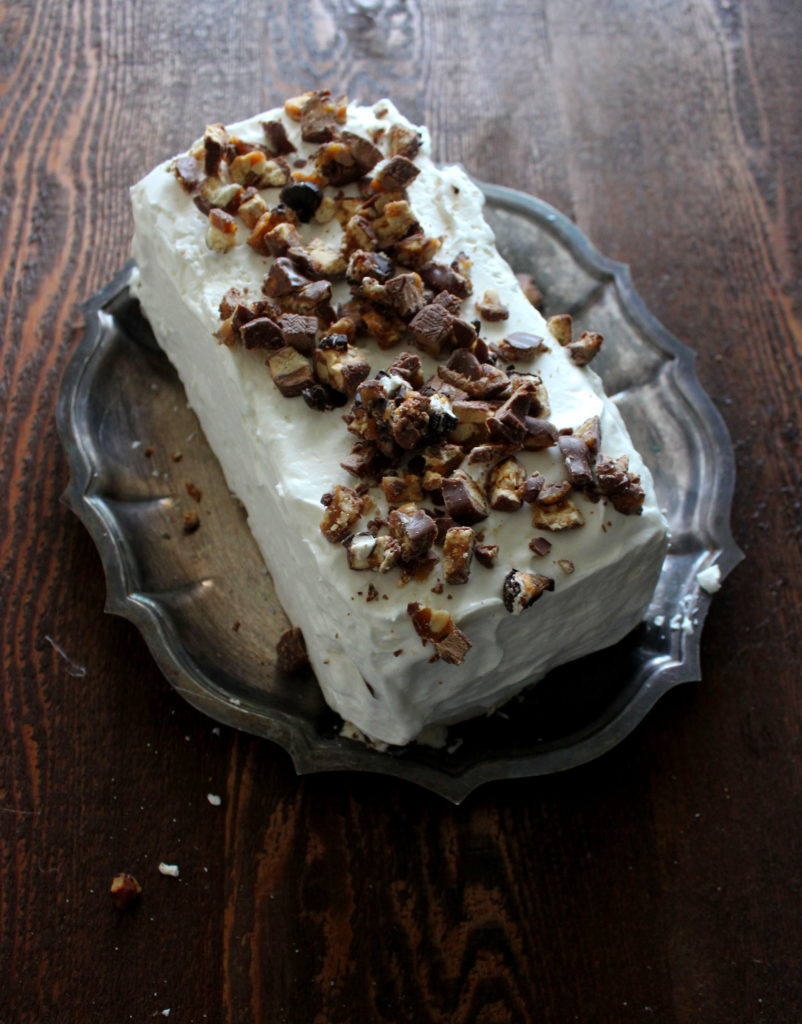 As a kid, I never really trick-or-treated. But before you feel all sorry for me, let me tell you that the church my family went to put on this incredibly fun (not being ironic) “harvest” fair (and they still do every year) with activity booths like “Whack-a-Walnut” and mini-golf. Then you exchange tickets you win playing games for literally BAGS of candy. And also free all-you-can-eat hot dogs and kettle corn. To celebrate this candy-overloaded time of year, I figured out a way to stuff handfuls of trick-0r-treat loot into one, manageable and thankfully, shareable icebox cake that can be saved in the freezer for up to a month. If you’re great at preserving things in the freezer (involves air-tight plastic wrap ninja skills I don’t really have), you may even bring this out alongside the pumpkin pie at your Thanksgiving feast!
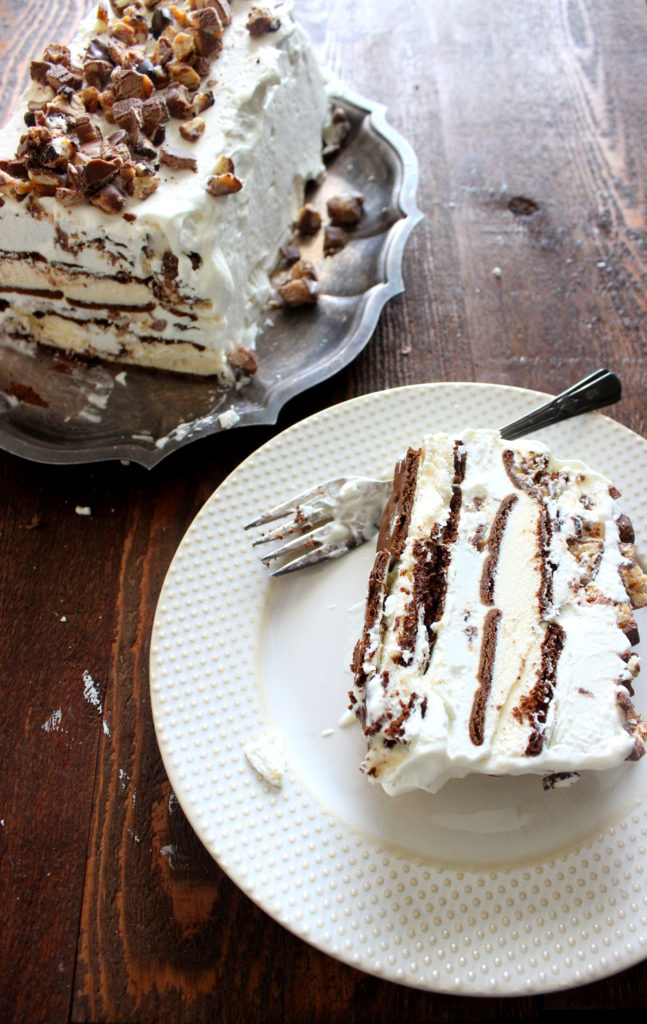
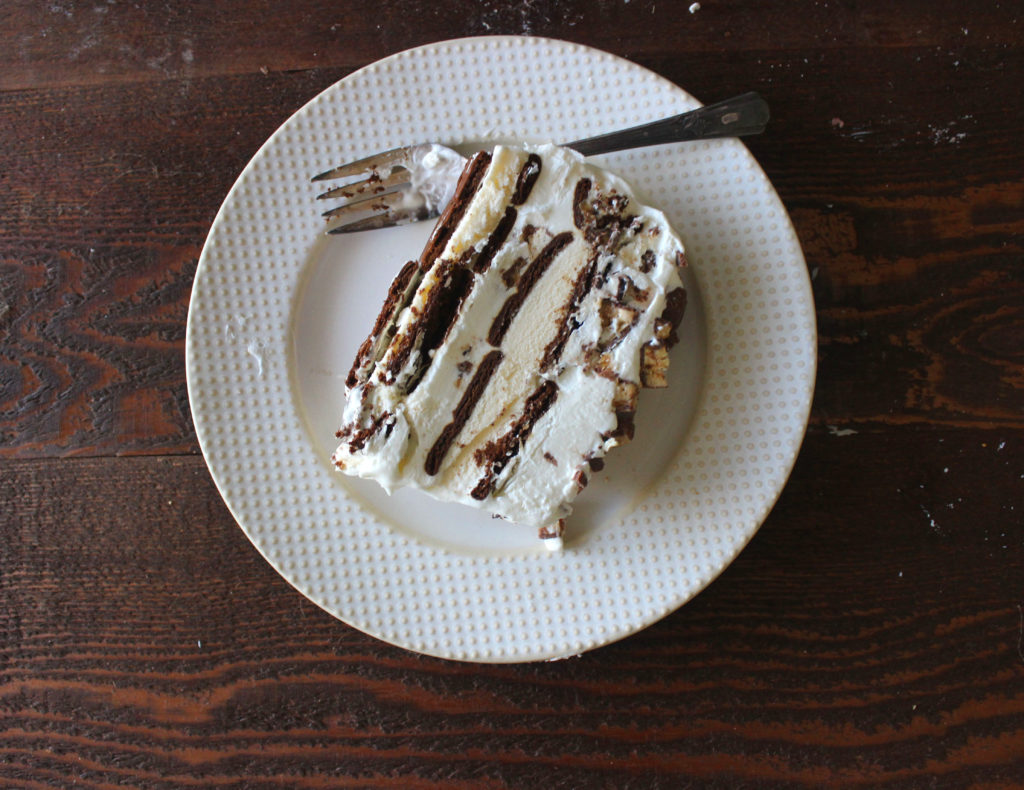
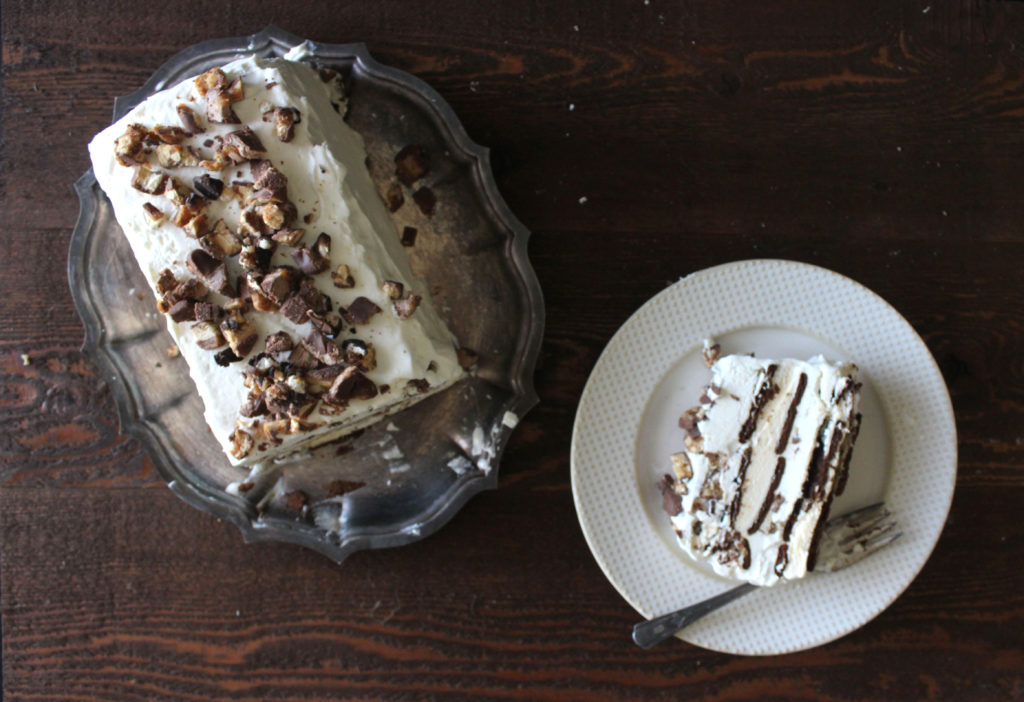 This icebox cake is inspired by something I had at my 8th grade graduation banquet from one of the creative moms in charge of feeding a group of pumped-up, overdressed teens dessert on graduation night. She made a cake like this using a giant Costco-sized sheet cake pan, but when she served it everyone was so impressed because it was delicious, but also fancy-looking. My version also only takes five easy ingredients (that are probably already in your fridge & cabinets) and a freezer to complete. Whip this up and share it with friends to spread those candy calories across multiple appetites, instead of mindlessly popping one small candy in your mouth after another while watching TV, which I sometimes do if I’m not careful.
Ingredients
- 10-12 ice cream sandwiches (you may need more, depending on how large your cake is)
- 2 cups heavy whipping cream
- 8 oz. cream cheese
- 1/4 cup of powdered sugar
- handfuls of fun-sized (or regular-sized) candy bars (I used about 10 oz. of fun-sized candy bars)
Instructions
- In a bowl, mix heavy cream, cream cheese, & powdered sugar together with a hand-mixer. You can choose to mix by hand with a whisk, but this will take a very long time. Whisk until heavy cream become stiff and fluffy, the same consistency as whipped cream.
- Crush the candy bars into bite-sized pieces. You can use as little or as many as you want
- In a loaf pan, spread a layer of plastic wrap over the tin. Add about a half-inch to 3/4 inch thick layer of whipped cream to the bottom of the pan. Sprinkle the crushed candy bars over the cream, pressing them into the cream with the back of a spoon.
- Place the first layer of ice cream sandwiches over the top of the pan until completely covered. You may need to cut the sandwiches up to fit the pan more easily.
- Repeat layer of whipped cream and crushed candy bars over the top of the first layer of ice cream sandwiches.
- Repeat another layer of ice cream sandwiches to cover the top of the pan.
- Freeze for at least 8 hours, or overnight. When ready to serve, turn upside-down onto a serving dish and use the plastic wrap to get the cake out of the pan. Cover with the remaining whipped cream and sprinkle crushed candy bars over the top. Enjoy!
